Installing Hadoop
Installing Horton Works Dataplatform (HDP)
Kylo supports both the Horton Works and Cloudera distributions of Hadoop. Horton work's distribution of Hadoop is called Horton Works Dataplatform, known as HDP. The quickest way to spin up the cluster is to use a piece of software called Ambari.
Ambari is an open source management platform for provisioning, managing, monitoring and securing Apache Hadoop Clusters. The software provides a simple web GUI for performing all these auctions. To use the product, we need to setup an Ambari server with a database and install the Ambari agents on the various servers in our cluster.
As we are using only a single server this is a very simple process as everything will be on one machine. If we wanted to add more machines to our cluster, we just need to add additional servers which have the Ambari agent configured.
Installing Ambari Server
First we need to setup the Ambari repository to install the Ambari server package. SSH back to your machine and run the following command:
wget http://public-repo-1.hortonworks.com/ambari/centos7/2.x/updates/2.5.1.0/ambari.repo -P /etc/yum.repos.d/
Now lets install The Ambari-server and the Ambari-agent:
yum install ambari-server ambari-agent -y
After Ambari is installed, we need to configure it, so we will run the command ambari-server setup to start the wizard:
ambari-server setup
This in execute the ambari-server setup wizard. My answers to the wizard were:
- Yes, temporarily disable Selinux (though this is a security issue)
- Yes, customize account for Ambari (when asked which user, specify ambari - do not run the service as root)
- When asked to install the Oracle JDK, use the first option to install JDK 1.8
- When asked to manipulate the database configuration I hit No (this will automaticall install and configure postgres)
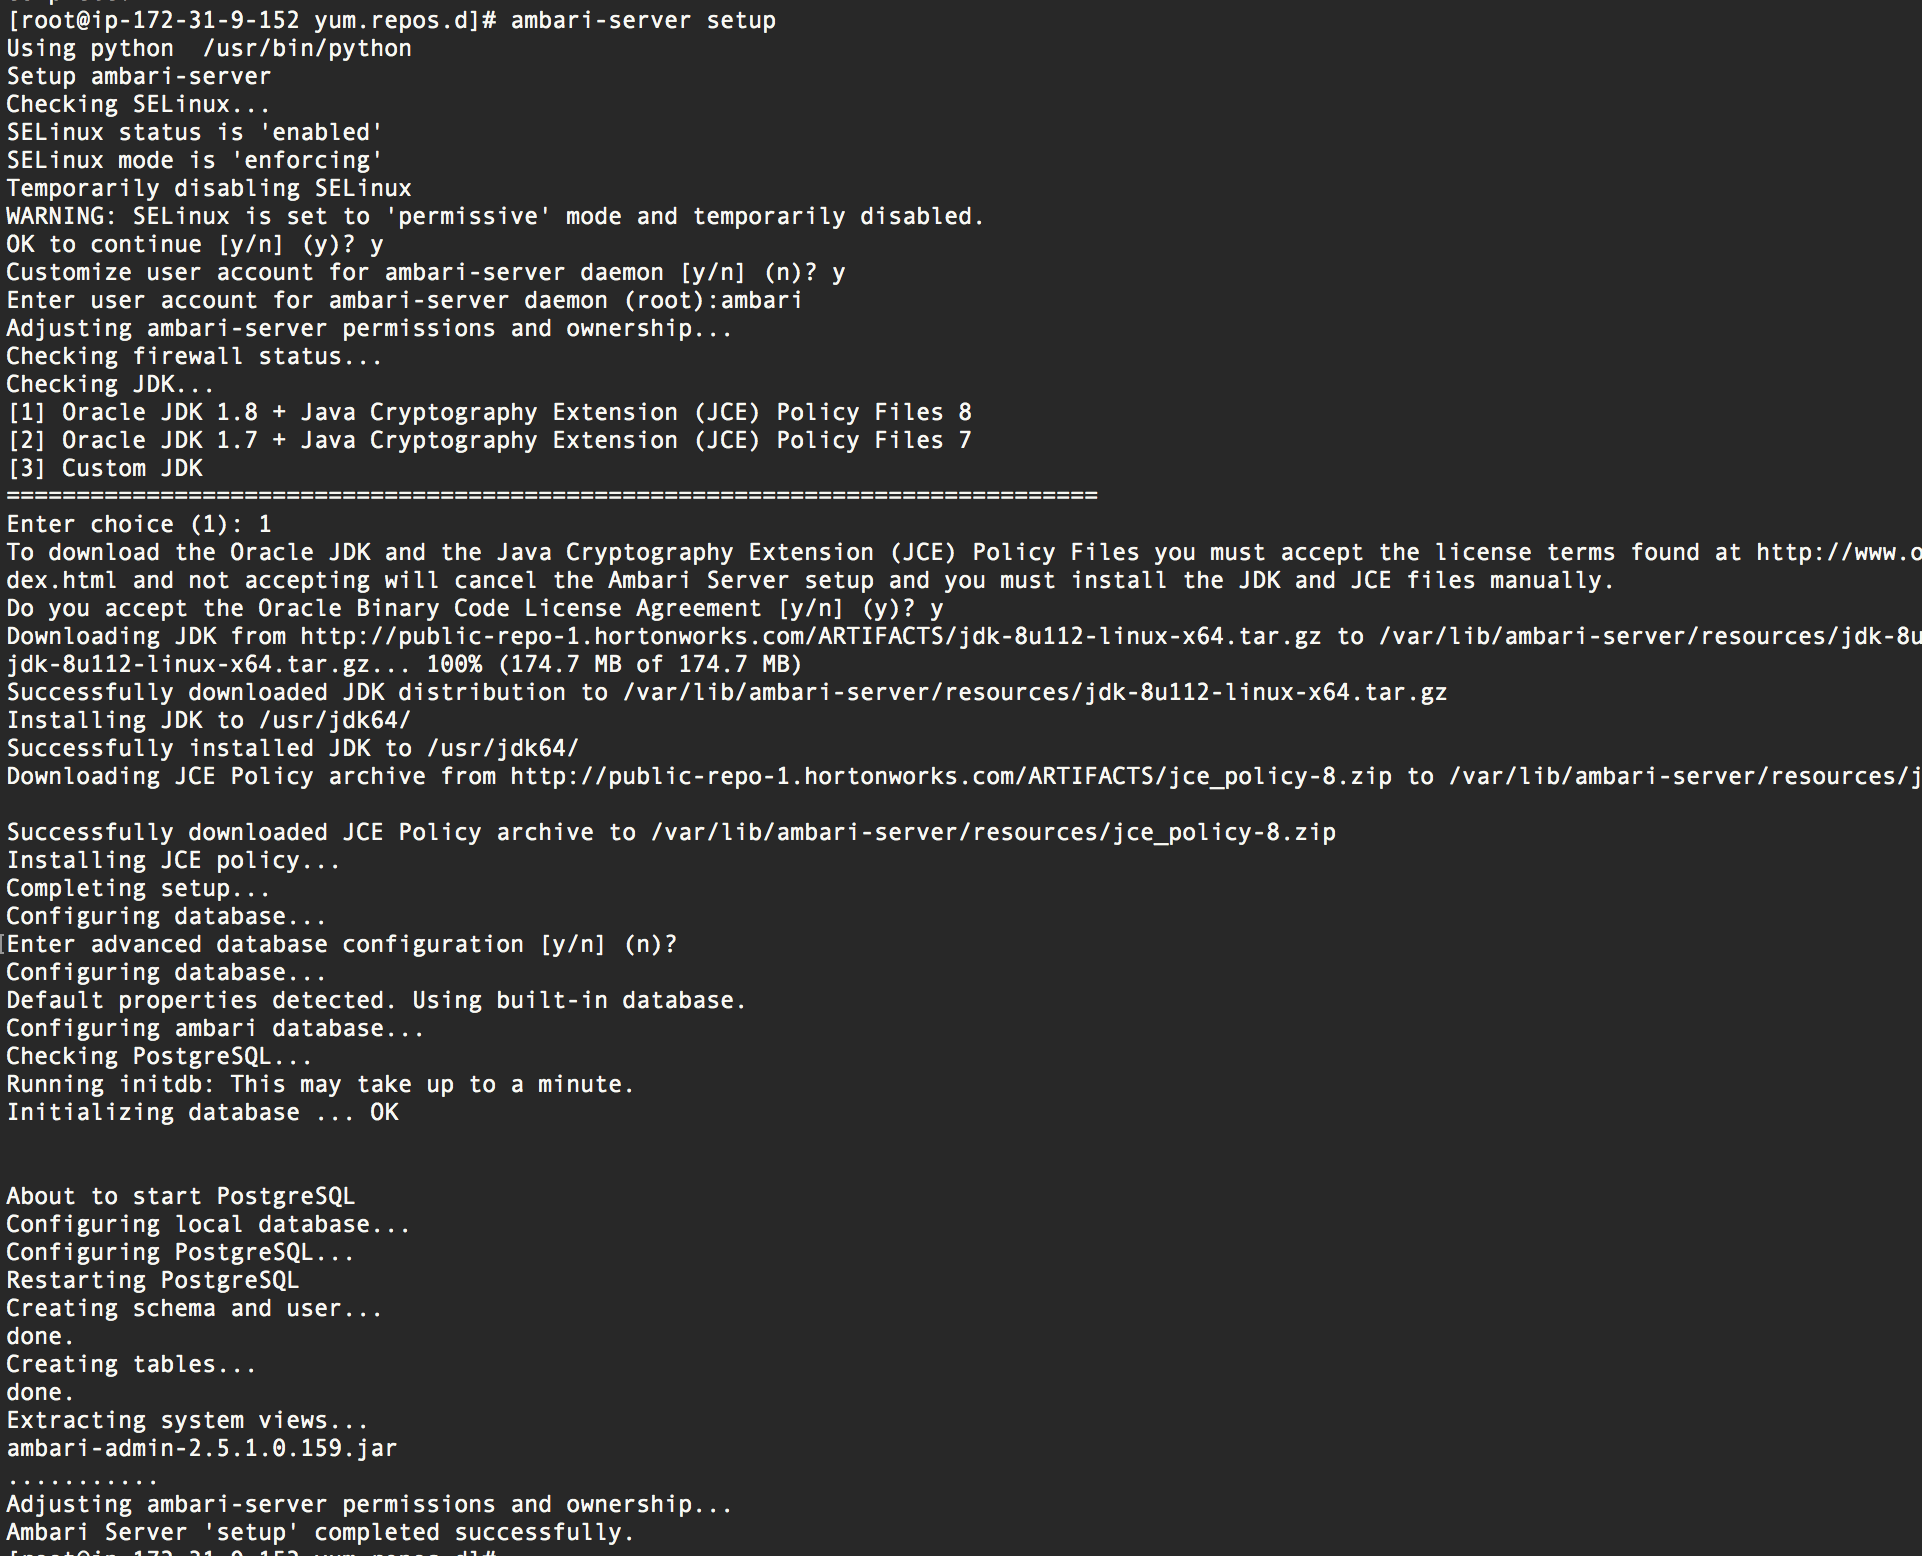
Finally, we start the Ambari server and enable the server to persist on reboots:
systemctl enable ambari-server && systemctl start ambari-server
Configure Ambari Agent
Once the Ambari agent RPM has been installed, the Ambari agent needs to be configured to point to the Ambari server. Edit the configuration file /etc/ambari-agent/conf/ambari-agent.ini and change the server hostname and port to match
[server]
hostname=localhost
url_port=8440
secured_url_port=8441
connect_retry_delay=10
max_reconnect_retry_delay=30
If your Ambari server is running on another machine (I.E your Kylo machine is an edge node), you will need to modify the hostname here or maybe your port if you changed it. Lets start the Ambari agent and enable it so it becomes active on boot:
systemctl enable ambari-agent && systemctl start ambari-agent
Install Hadoop Services
Now the agent and server are configured and running, we can proceed with the installation of HDP. Open up a web browser and using your public IP address, access the Ambari server on port 8080. The default credentials for Ambari server are:
   # HDP Ambari default credentials
   username: admin
   password: admin
* It is highly recommended you change your ambari password as soon as possible, especially if your machine is directly exposed to the internet through a public IP address. This could expose the rest of your AWS machines or even your internal company's network if Ambari becomes compromised.
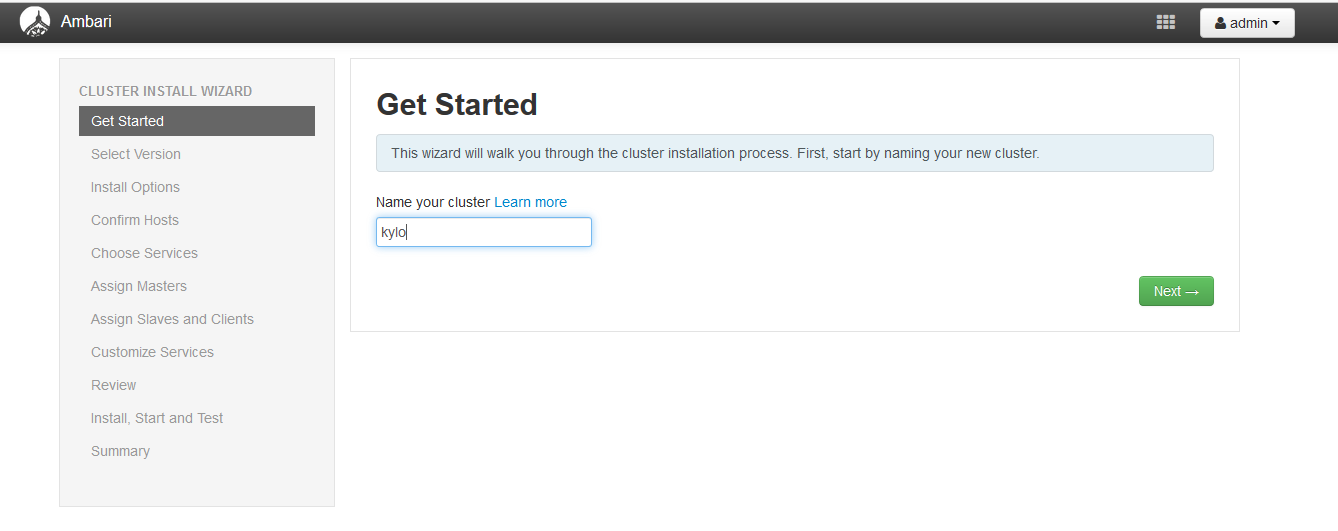
When authenticated with Ambari, hit the Launch install Wizard button to begin the Hadoop installation process. This process will allow us to select which Hadoop services we want to run and on which machine in our cluster they will reside. As this is an all-in-one deployment, all the HDP services will be deployed onto the single server. Give the cluster a name and hit next:
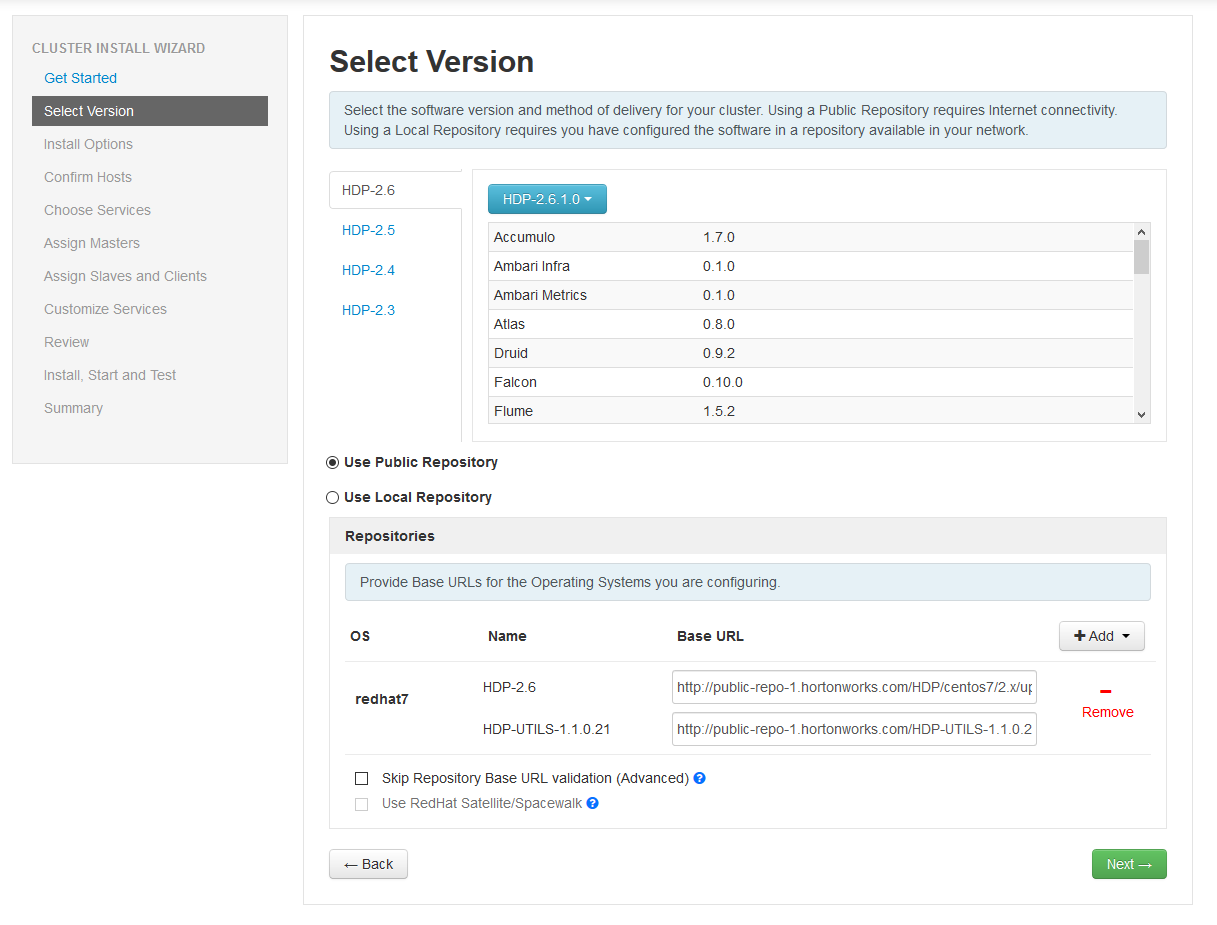
On the Select Version page, chose the latest version. If you've got the repositories synchronized to a local server for an offline installation, hit the use local repository button. As this is a test platform, we will use the public repositories. From the list, remove everything but the redhat7 repository in the list and hit the next button:
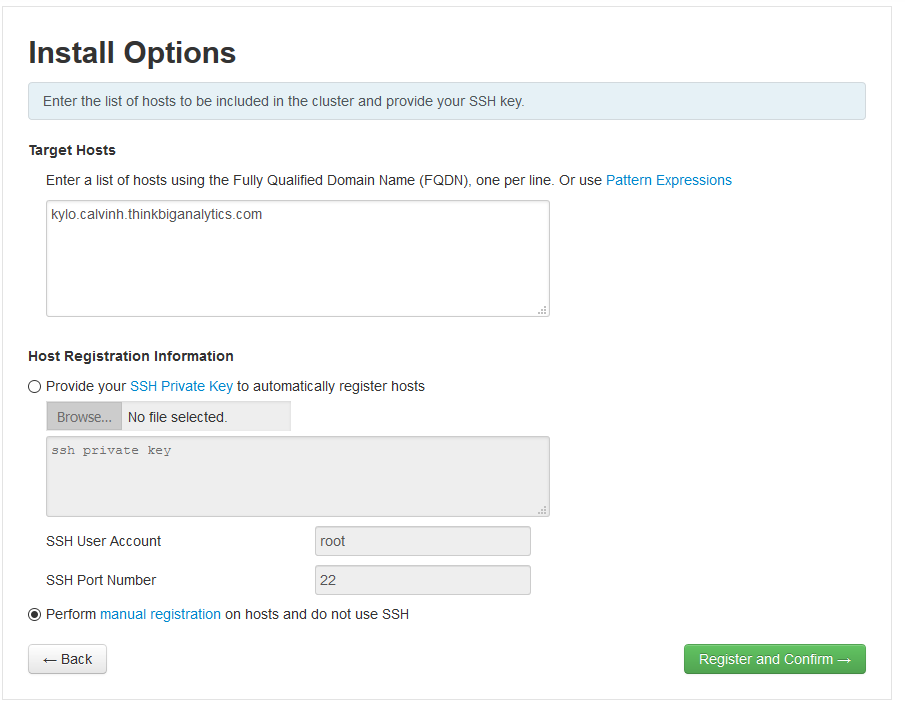
On the Install Options page, put in your machines hostname into the list of target hosts. If you're building an entirely new cluster with several machines, you can put in the hostnames here, one per line. Note that if you're setting up multiple machines it would be a good idea to setup the SSH key for each of them. Technically, we could also setup an SSH key for the local machine, but that is pretty overkill.
As we've already started and installed the Ambari Agent on this all-in-one machine, we can accept the manual registration option. We just need to ensure the ambari-client is running and configured correctly before proceeding (see previous steps). Select the correct options as seen in the picture and hit next:
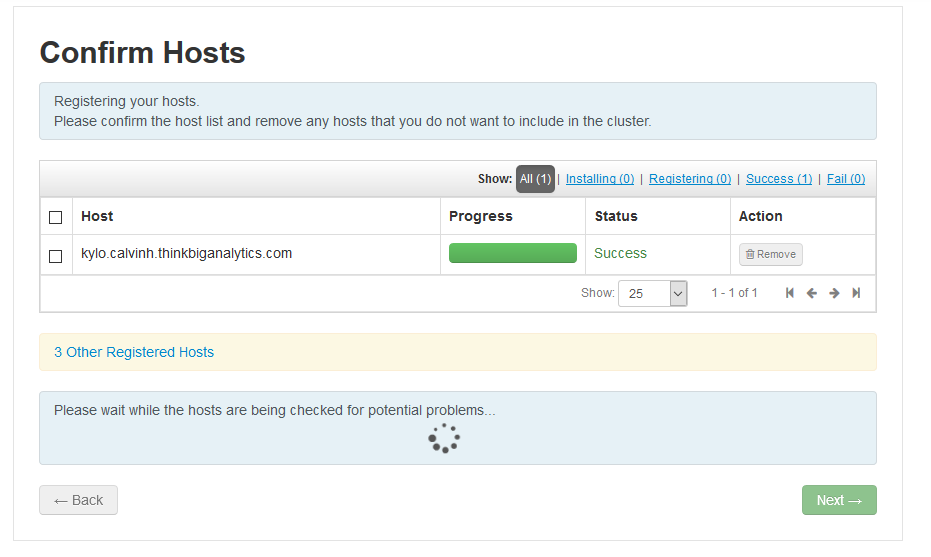
Ignore the warnings/message and you should get a page like this. If your machine was unsuccessful, it means there was an issue with connectivity. This can either mean that a firewall (iptables or firewalld) is blocking connectivity to the agent (this should be unlikely on an all-in-one machine using localhost) OR the agent was not running correctly (ensure the agent is started and running and that it is pointing to localhost in the agent).
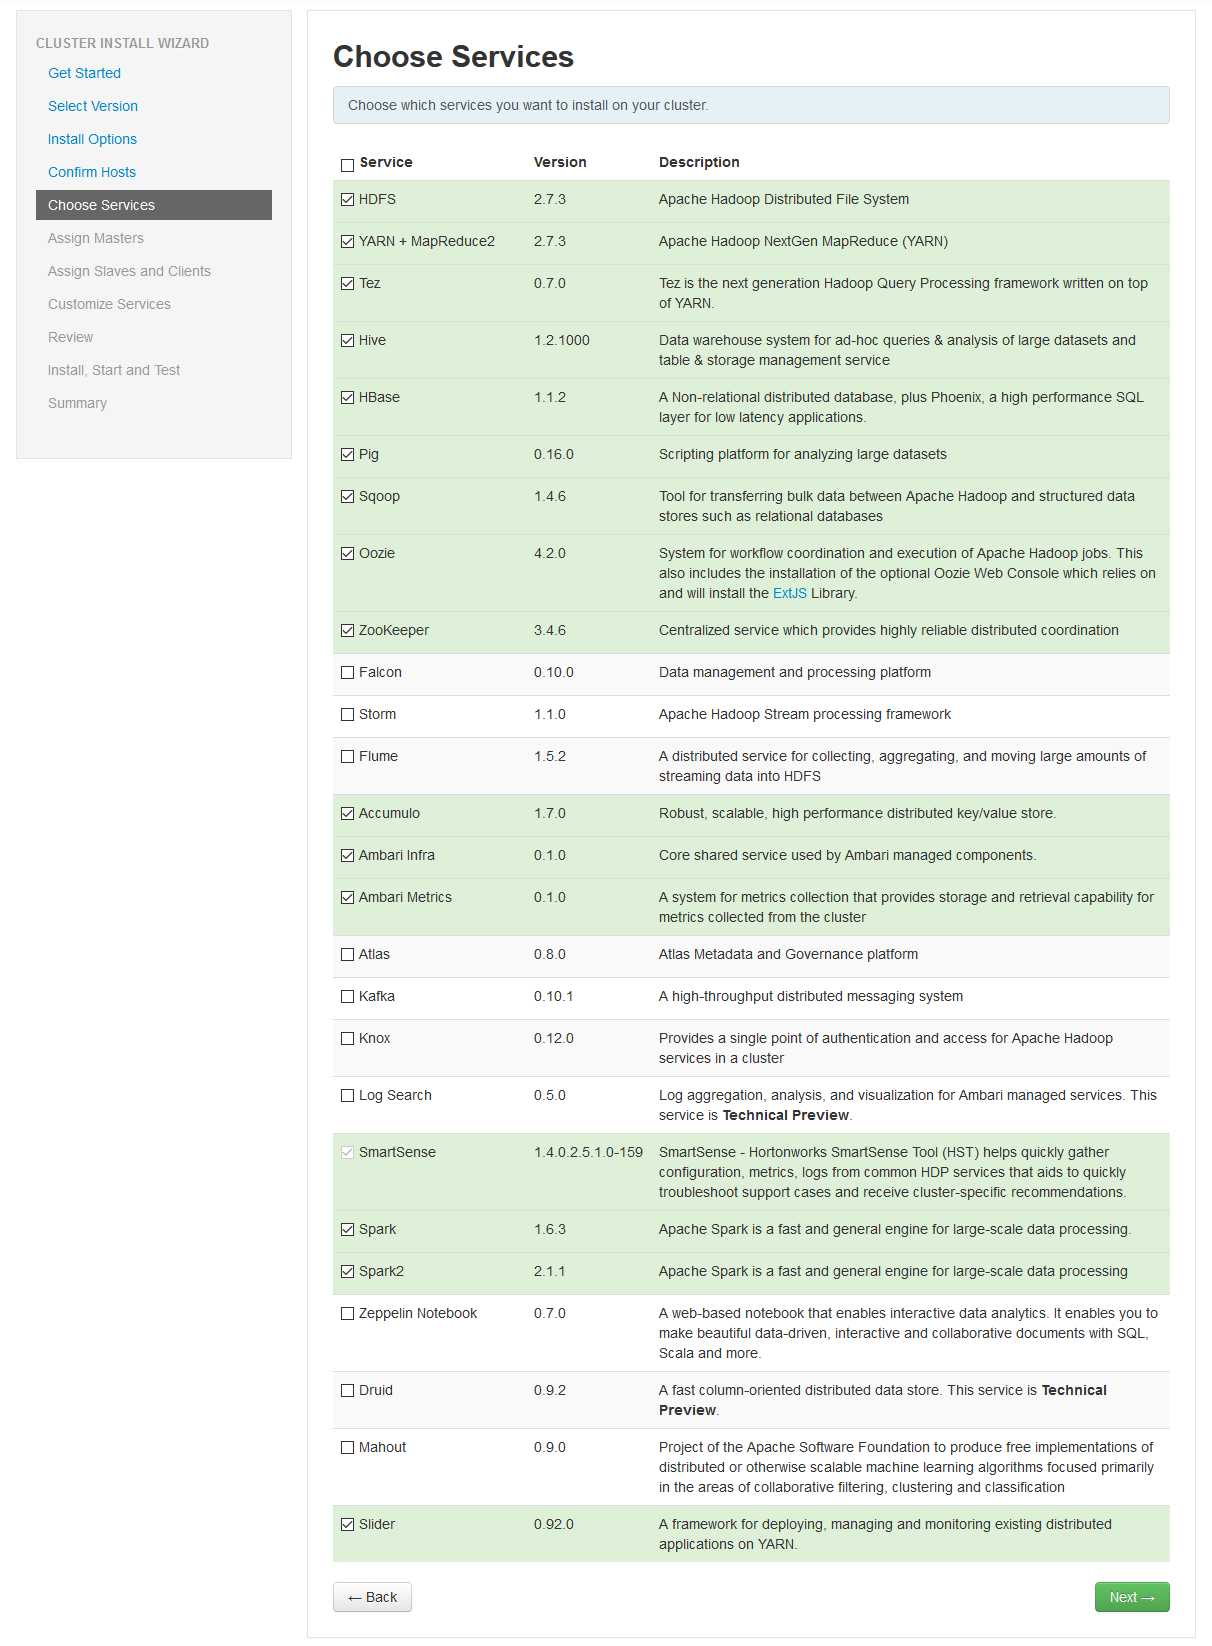
Eventually you will see a screen like this, just hit next when possible to choose which services you want to install on the server:
In theory you can install every available service, but I decided to opt for: HDFS, YARN + MapReduce2, Tez, Hive, HBase, Pig, Oozie, ZooKeeper, Ambari Infra, Ambari Metrics, SmartSense, Spark, Spark2, Slider. Hit next when you've finished making your choices:
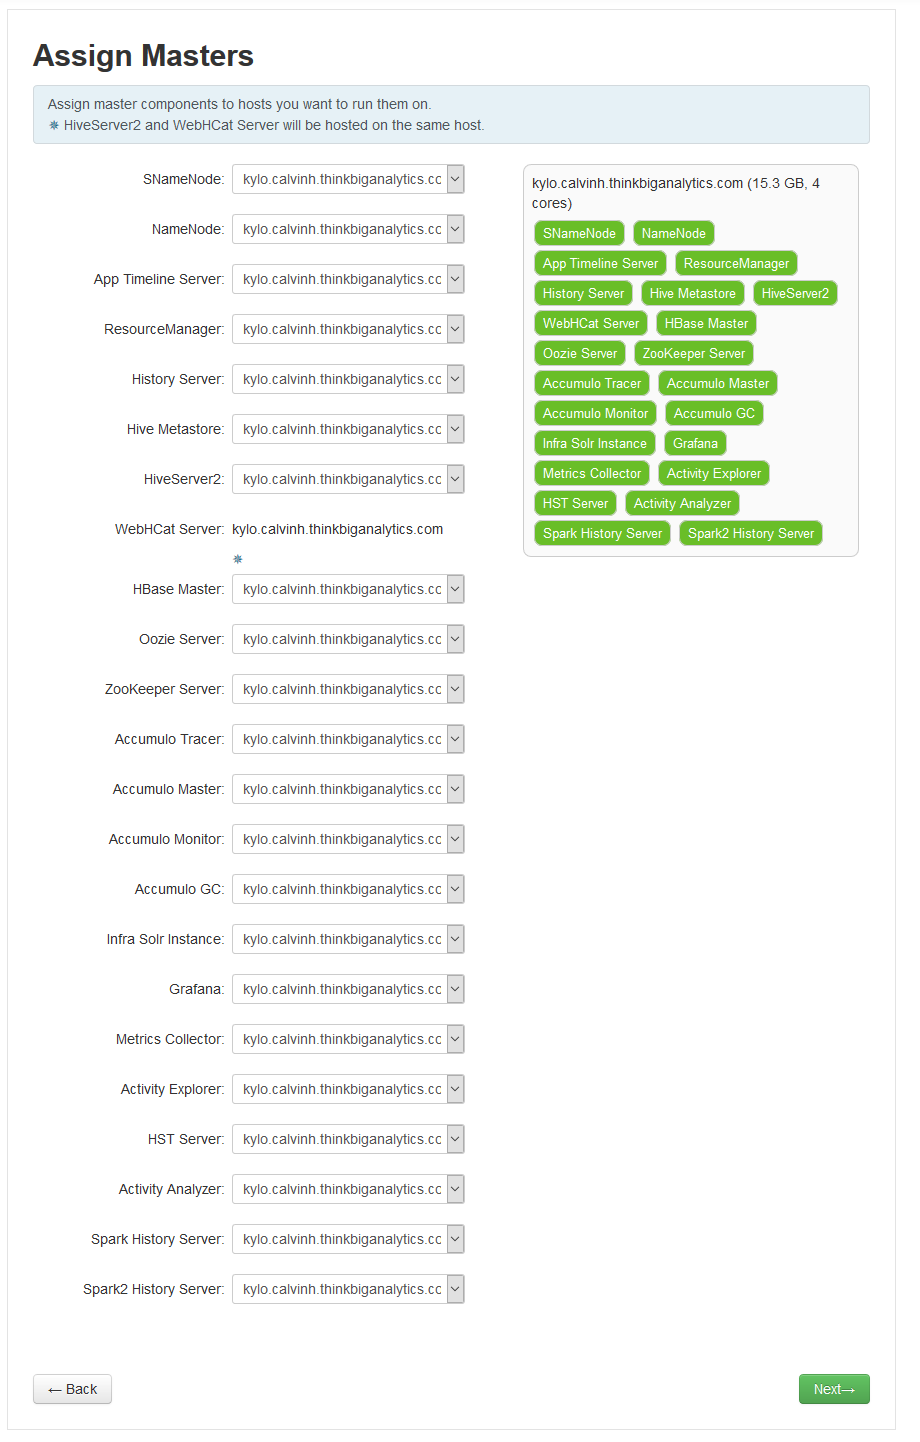
Once you've selected your services, hit next. The next page allows you to assign which nodes will run the various services, such as the name node or the master nodes for various services. Each Hadoop service runs slightly differently and has a different pattern for deployment, but this really only matters if we are using more than one server. With this in mind, just hit the next button:
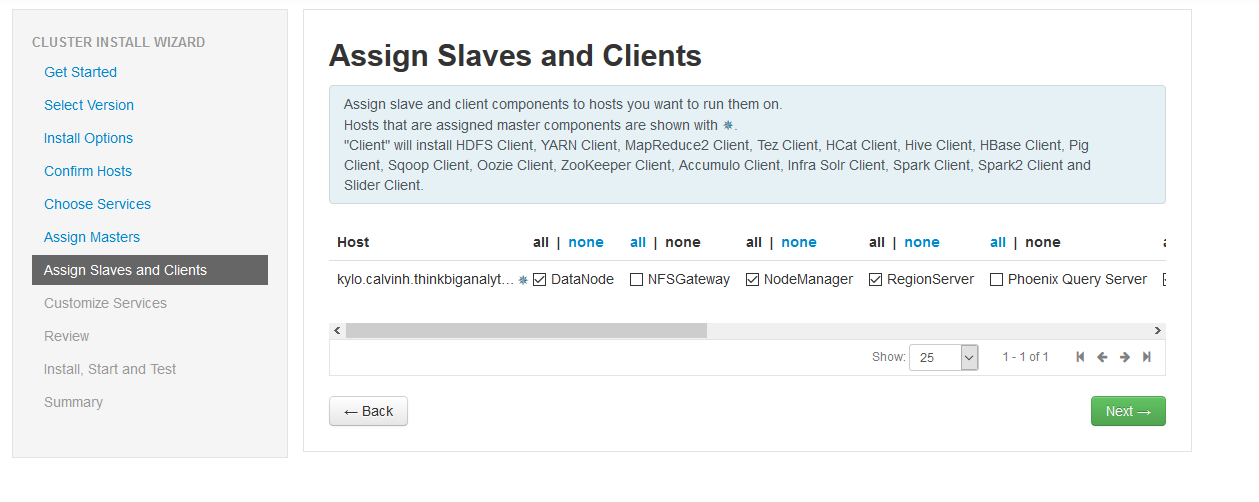
The next screen allows us to sign slaves for various services. As we are just running everything on one machine, hit next:
On the next screen, we customize services. The services which have the red box next to them mean there is some remaining configuration required to configure the service. This will vary depending on which services you selected, but for this installation, we need to fix Hive, Oozie, Ambari Metrics and SmartSense.
At the bottom of the page you can hit the option 'show me properties with issues' which will automatically take you to the properties for each service which have outstanding problems. The other way to find the properties is to click each of the different individual services and click through to find the missing or troublesome properties:
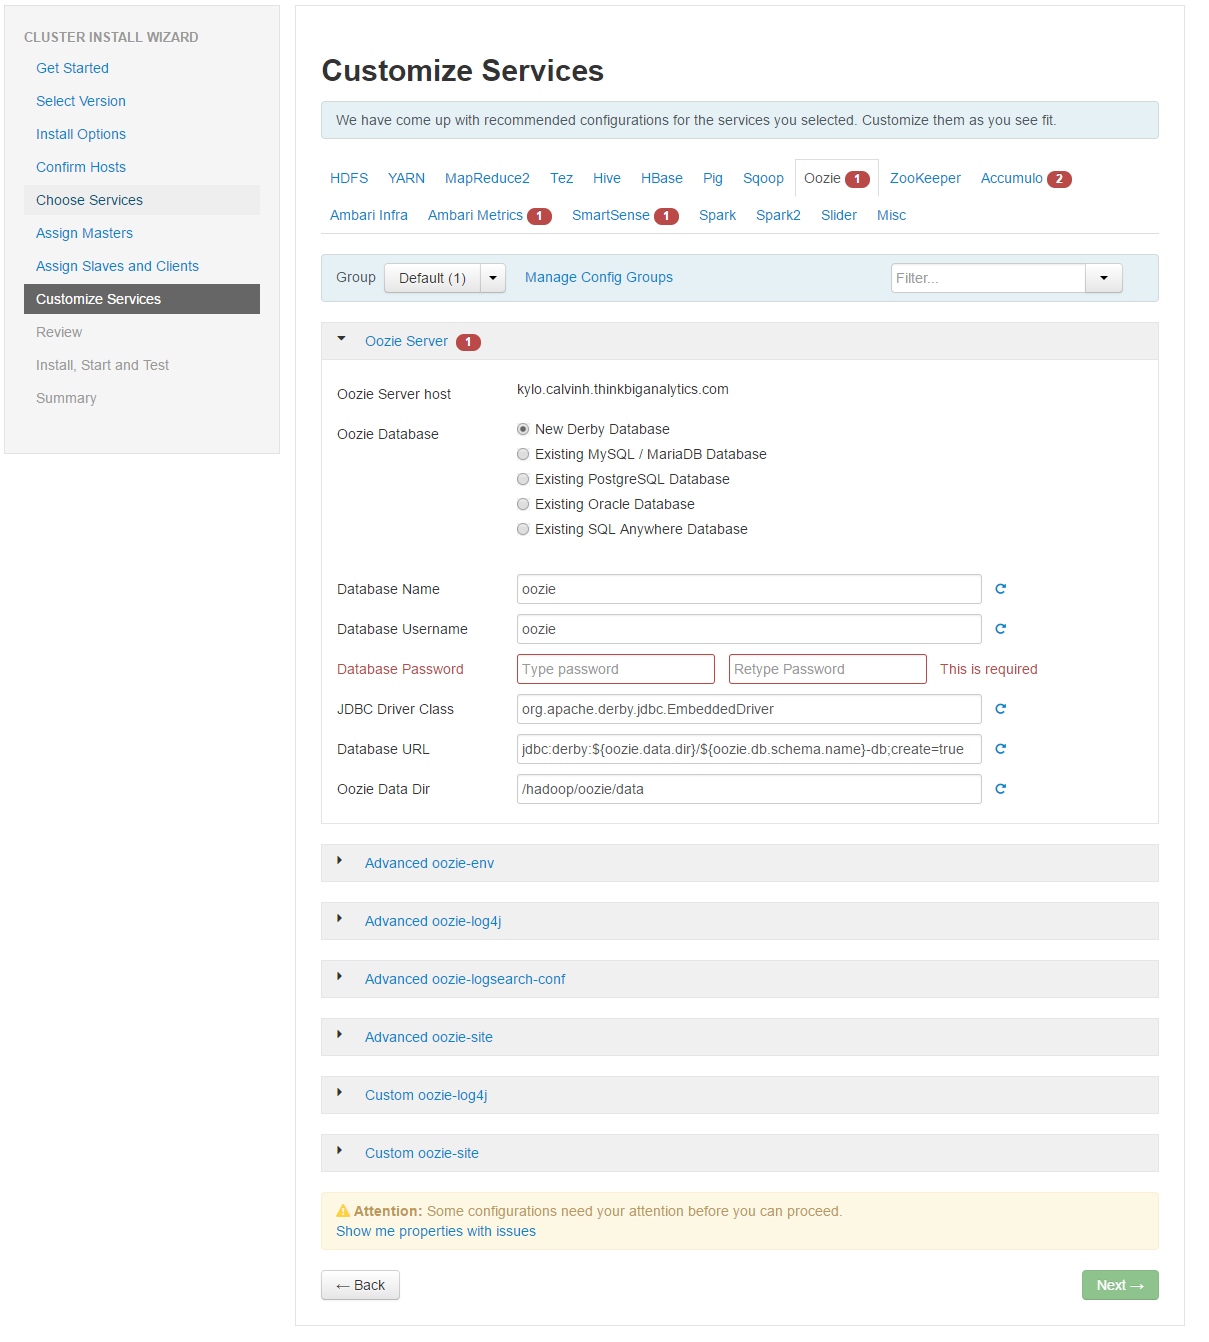
Fill in each of the missing properties to resolve the final issues. These will mostly be database passwords and admin user passwords. Set them to something strong and make a note. Once you've done it, hit the deploy button to start installing the Hadoop services you selected:
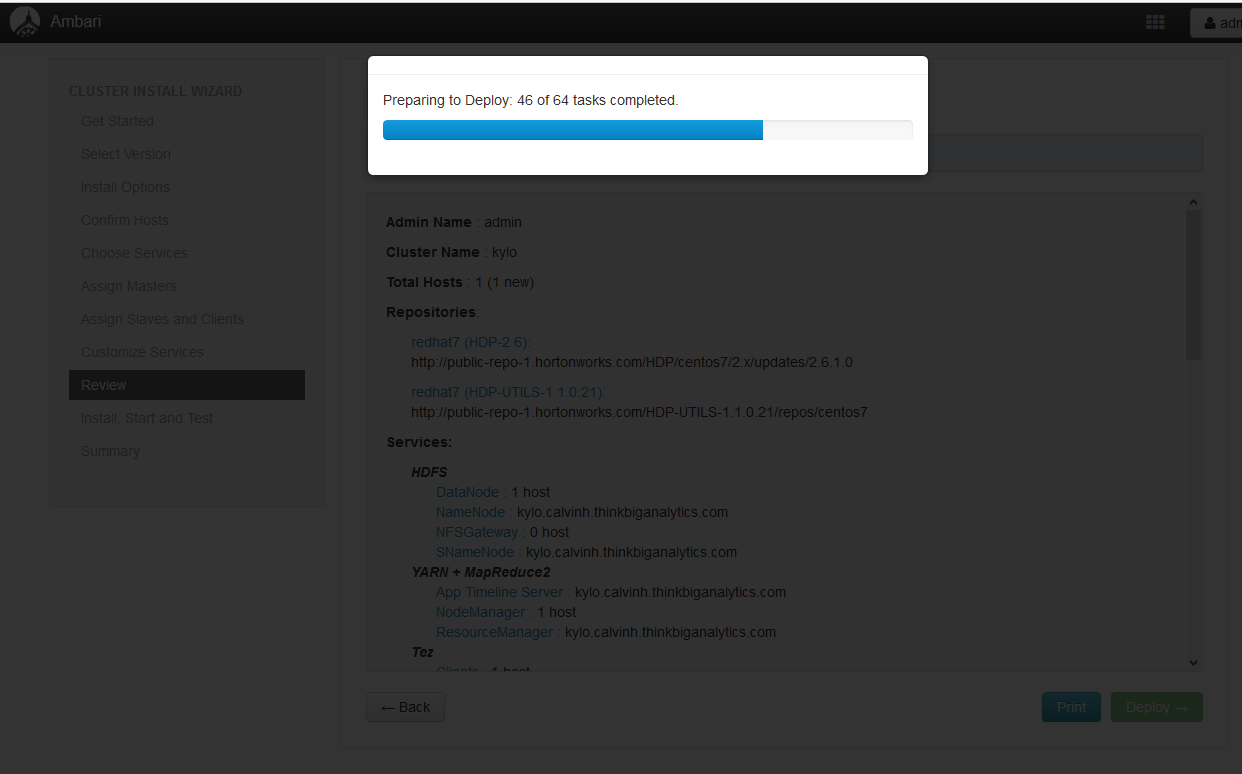
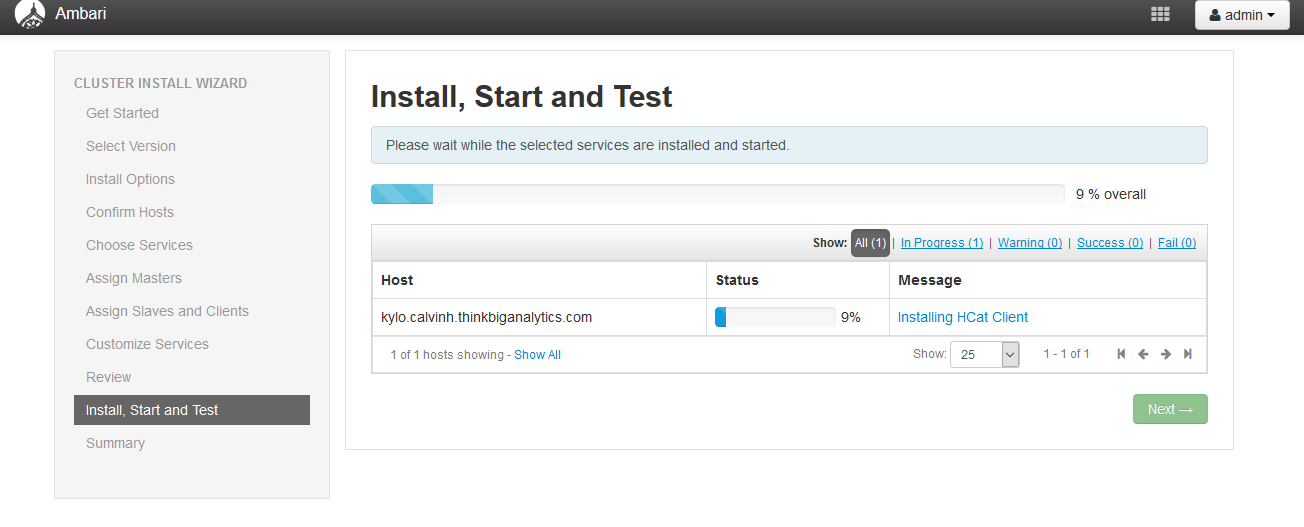
Now the services will start to install on the machine, this will take a while, probably about 30-45 minutes.
After the services are installed, our cluster should be ready for the Kylo installation. If there are any services which haven't started, make sure they are started. Note that these services actually need to be started in a specific order, starting with HDFS.
You may see a screen which looks like this after the services installation:
In order to solve this issue, use the Actions button in the bottom left and hit the Start All button to cause Ambari to start all of its services. If you click on specific services, you can start them individually.
Depending on your cluster size, you may have trouble starting lots of services at once. Services you don't need can be put into maintenance mode to save on resources (ram, processing power).
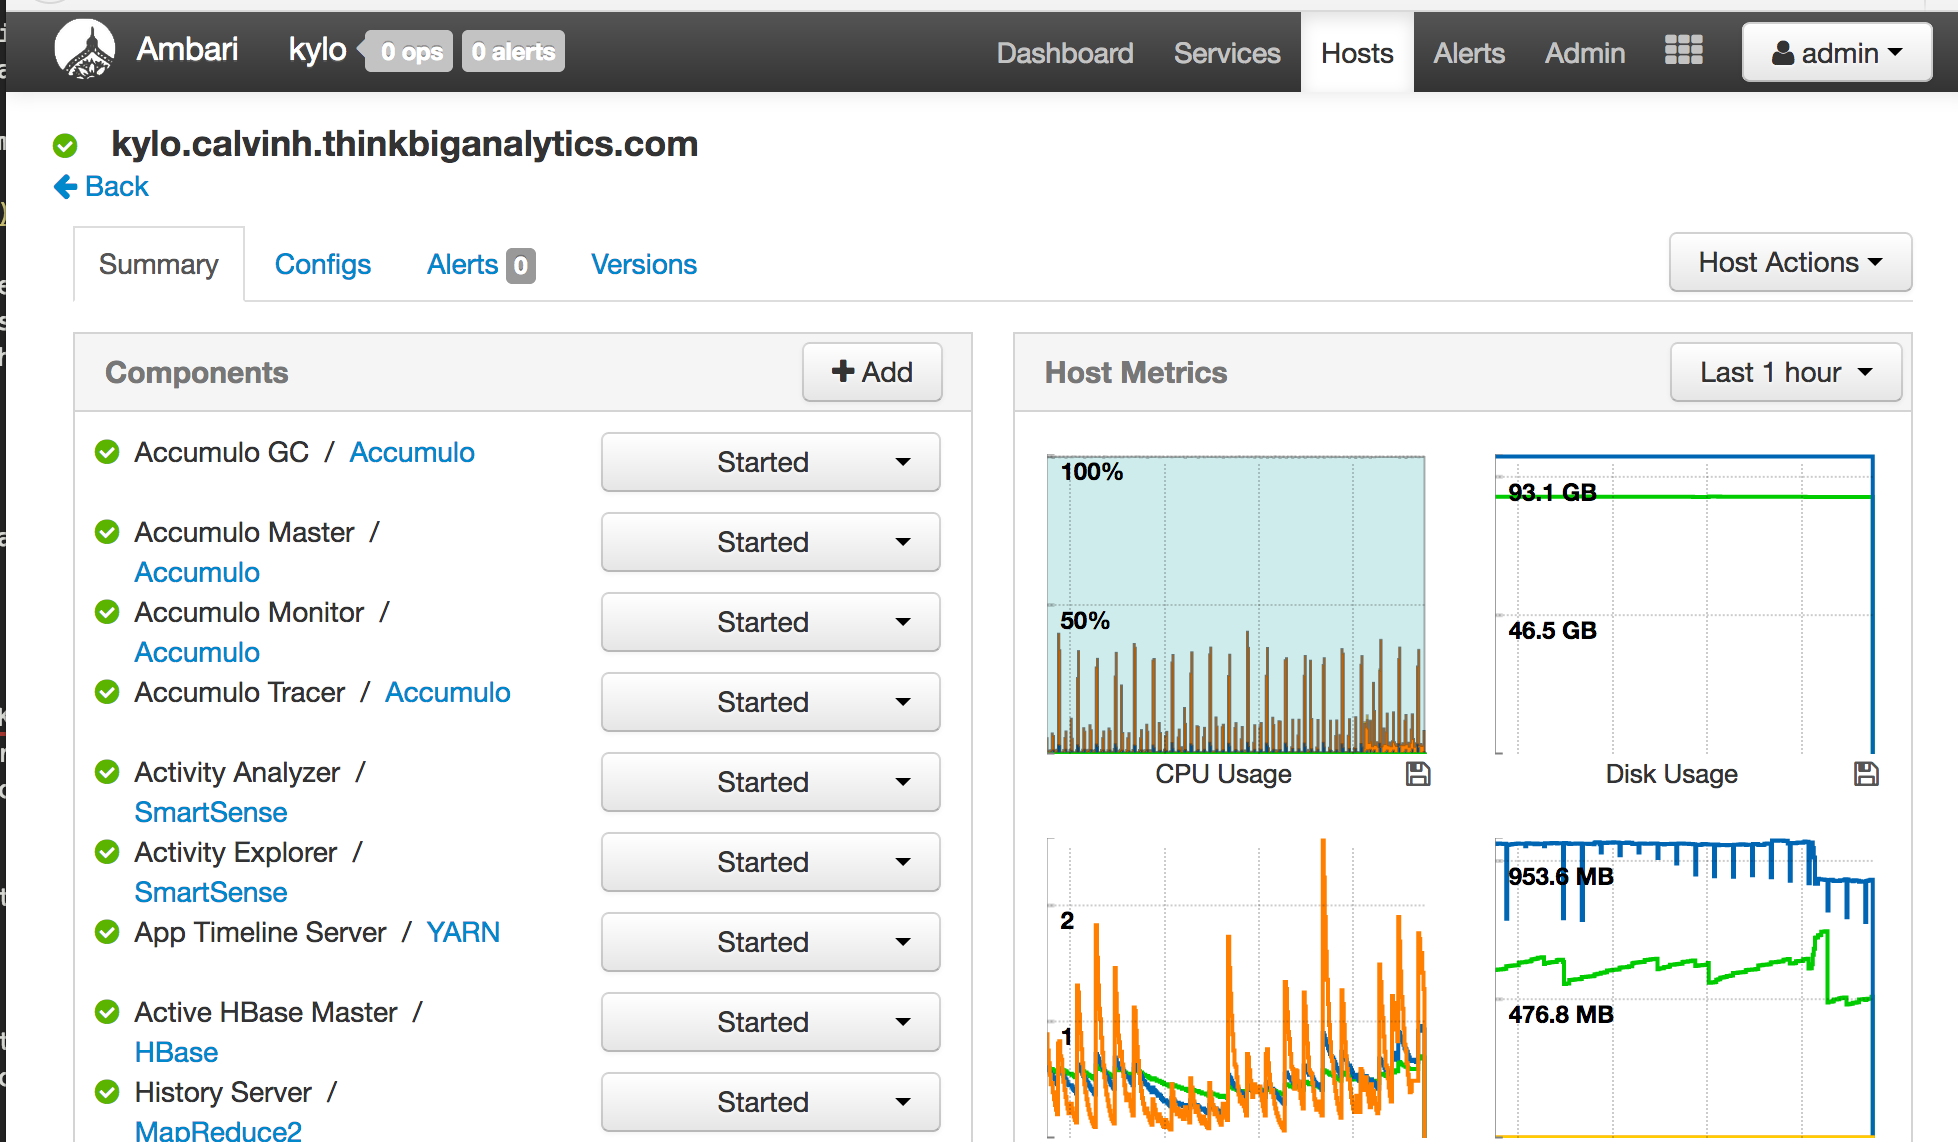
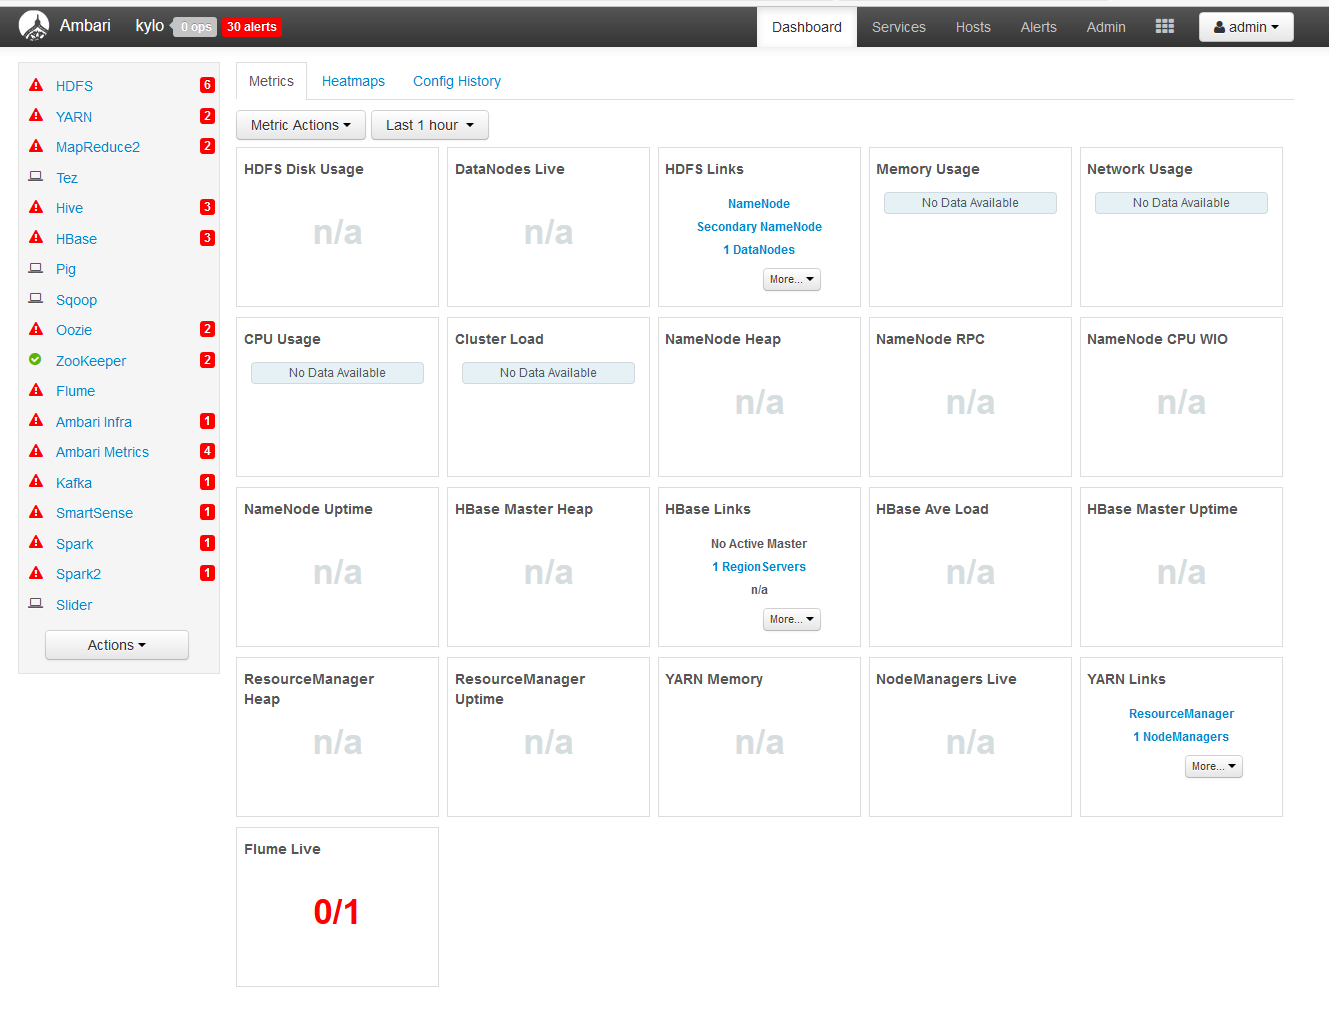
If you're using a bigger machine (as per my suggestion) or multiple machines, you should hopefully have a screen which looks like this and we can now proceed with the Kylo installation: